Hardtwist 3D | home
Fog Tutorial
Part Two
These are the settings I used to start off with.
Load the image that I supplied or one that you like better into Transparency Map and Texture Map areas. Set Transparency Min to 100% and Transparency Max to 100%.

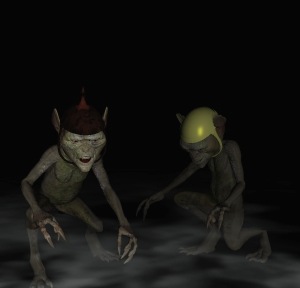
Try it with Depth Cueing. Then try it without. Everything you do Depth Cueing, lighting and colors effect the look in different ways.
The results are below. The boys like it.
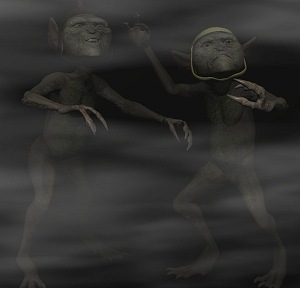
To get total fog just rotate the cylinder in the Z axis until it is parallel to the camera and position it between the camera and your character or scene. If when rendered all you see is white then it is probably reflecting one of your lights. You may need to make adjustments to your lighting or move the cylinder closer to the camera to find the best results.
There are a lot of things you can change for different effects. You can change the Object Color to green and get a weird green glowing fog or change it to purple and get a strange dark night look. Point is. Try as many colors as you like until you get the look you want. You can't break it. There will be times when you completely lose what you want. No problem. Just scale the cylinder down until you can see it and go from there.
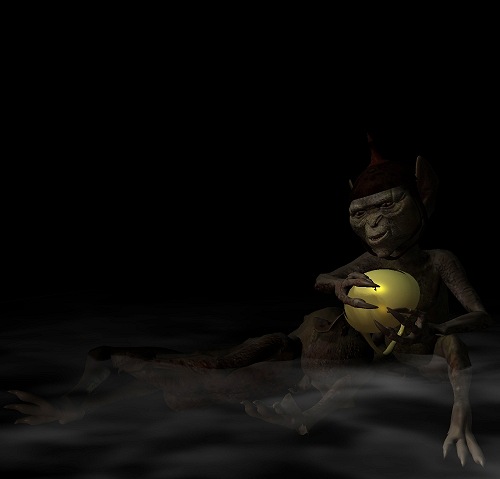
Wake up Grem. Gram put Grems helmet down. Oh well Gremlins will be Gremlins. They have an attention span of a two-year-old human child. Anyway thanks for indulging the boys and me. We had fun and we hope you find this simple little tutorial of use.
Thanks to all the members of Runtime DNA for the encouragement and tolerating my ramblings.
GOOD BYE