Hardtwist 3D | home
Bryce 5 Tutorials
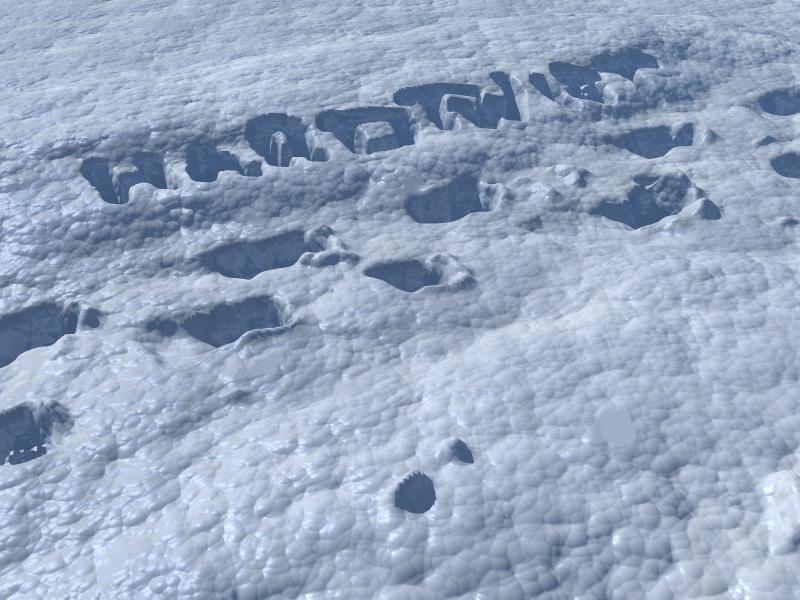
Footprints in the Snow
What you will need for this tutorial: Bryce 5
Maga's free texture set found at 3D Commune. Just do a search for maga in Bryce free stuff.
Lets get started.
Create a terrain. With the terrain selected click on the E (edit) at the side of the terrain.
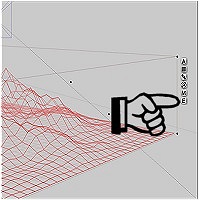
This will bring up the terrain editor.

In the Editing Tools window with Elevation tab selected hit new. This will make your Terrain Canvas flat or in this case all black. Remember black is lowest and white is highest.
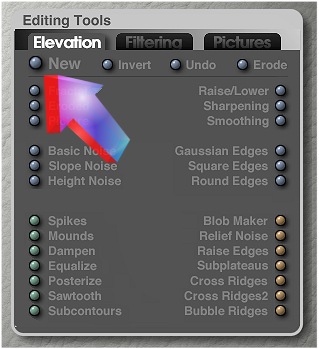
Next hit Invert in the Editing Tools window and then use the Raise/Lower button to lower the terrain about half way or whatever you like.
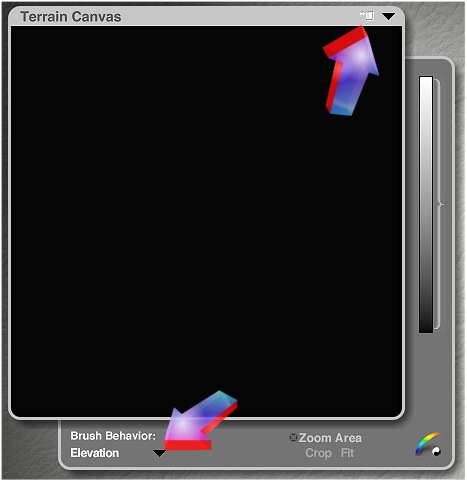
Next hit the button to the left of the drop down button in the Terrain Canvas window.
This will open the Brush Behavior window.
Make sure it is set to Elevation.
Next use the brush settings tab to select the size and intensity for the brush. In this case set it so it is not to small and the contrast all the way up and the level slider to just a little darker than the terrain. The darker you set it the deeper the footprints.

Now start putting a pattern on the canvas that is to your liking.
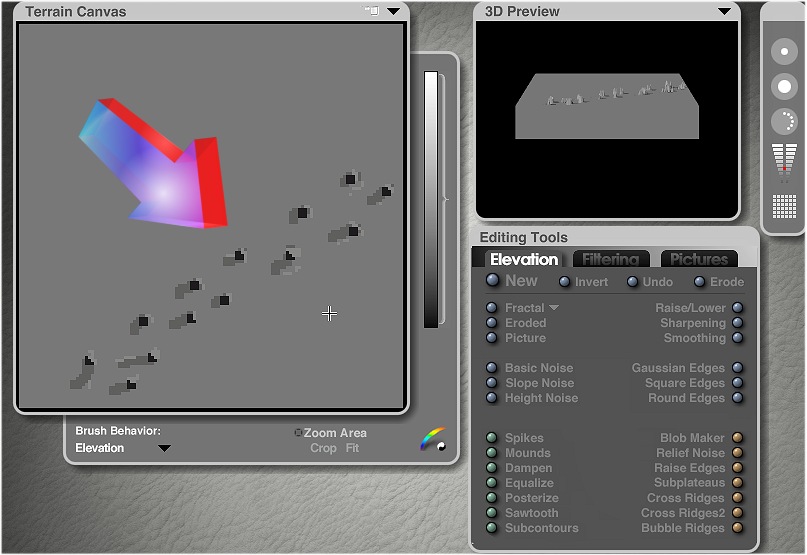
To give it more of a kicked up around the edges look just set your level bar to a shade or two above your terrain shade. When you get something you are happy with move the grid setting to 512 or higher for more detail.
Now for the fun part. We need to apply a good texture to make it all work. This is where having a good snow mat comes in handy. The best snow mats I have found are the ones Maga has so generously given to us to use for free. Thank you Maga. As I have stated before you can find them in the free stuff over at 3D Commune.
Now get creative and have fun!